1- Click Manage Account Menu |
|
2- Click "Open" on the FYI you want to edit. |

|
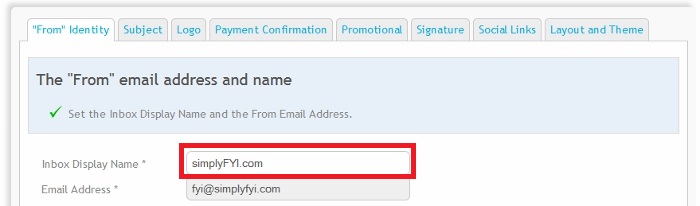
3- Specify your identity in your customer's inbox
|
Edit the "Inbox Display Name" to be name of your business.
The "from" Email Address defaults to fyi@simplyfyi.com. We recommend that you customize it. Please write to support@simplyfyi.com for options.
|
 |
|
|
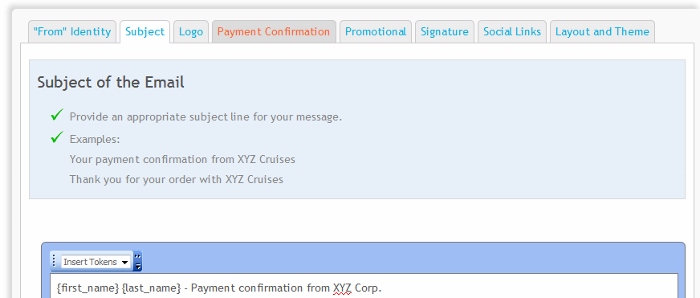
4- Specify the Subject of the confirmation email
|
Click the "Subject" tab. Modify the subject.
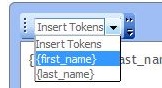
You can personalize the subject using the first_name and last_name tokens. Place the cursor in the edit box; click "Insert tokens"; select a placeholder token.
|
 |
|
|
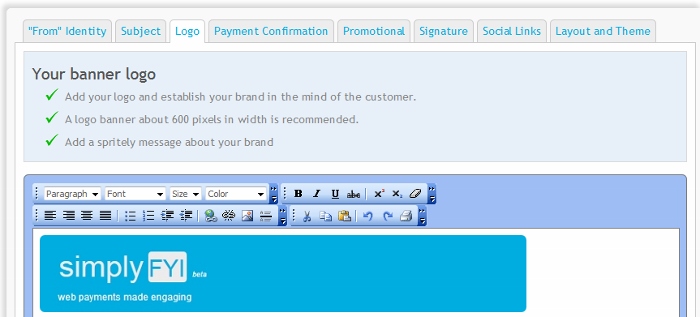
6- Add your Logo for a horizontal banner (optional)
|
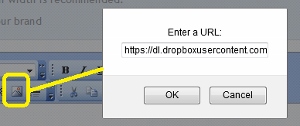
Click the "Logo" tab. Insert your image (width no greater than 600px highly recommended).
To insert an image, click the image icon on the toolbar (see figure on the right). Then insert the URL (public location) of the image. Click "Ok". Do the same to change the image.
|
 |
|
|
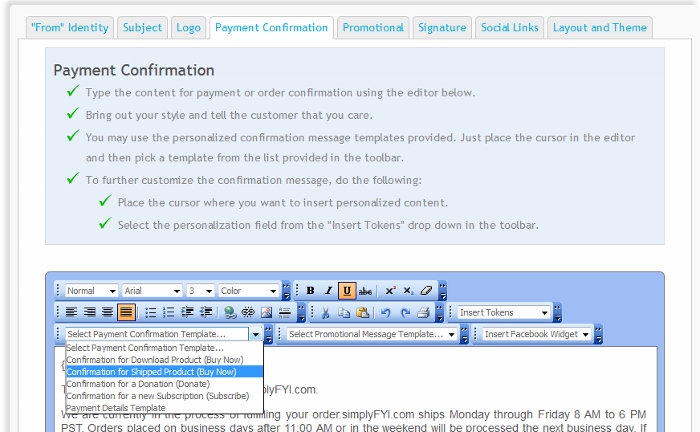
7- Edit the confirmation message
|
Click the "Payment Confirmation" tab. Edit the message. Use the toolbar to format text and insert images and hyperlinks.
You can use our predefined templates to insert confirmation and promotional content blocks.
|
|
|
|
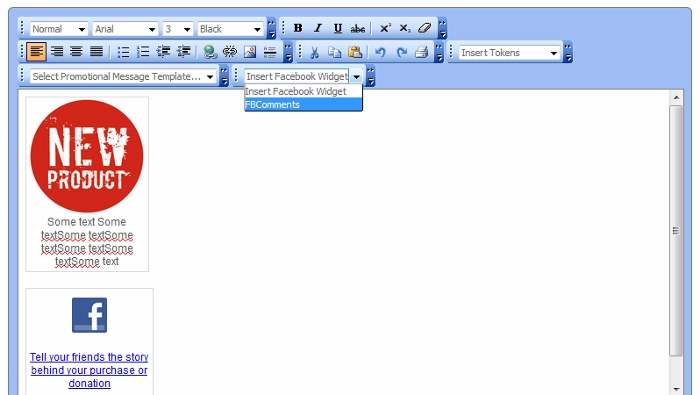
8- Edit promotional content (optional)
|
Click the "Promotional" tab. Promotional content will appear to the left or right of the confirmation message. Edit the promotional message. Use the toolbar to format text and insert images and hyperlinks.
You can use our predefined templates to insert promotional content blocks.
|
|
|
|
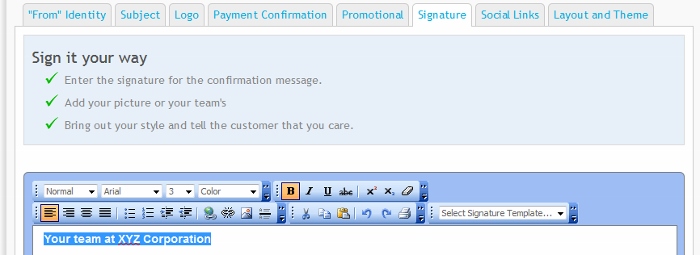
9- Edit Signature
|
Click the "Signature" tab and edit your signature. Use the toolbar to format text and insert images and hyperlinks.
|
|
|
|
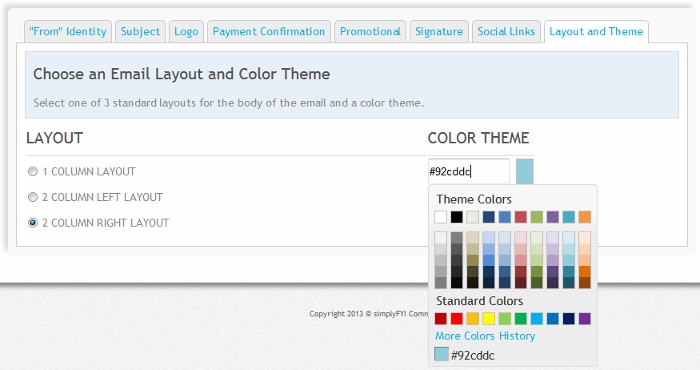
10- Edit Email layout and color theme
Click the "Layout" tab. Select a layout for the email and a color theme.
|
|
11- Preview the email
To preview the message, click "Preview". To go back to editor mode, click "Back to editor".
|

|
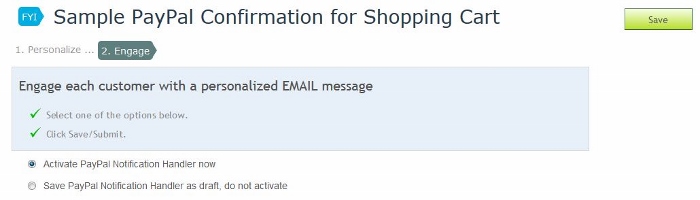
12- Save your work
Click "Engage". In the next page click "Save".
By choosing the "Activate PayPal Notification Handler now" option, the FYI becomes available to be activated. If you want to save the work as a draft, choose "Save PayPal Notification Handler as draft, do not activate" before you click "Save".
|
|
13- Activating and Testing the FYI
Next you have to activate the FYI and test it. Read "Activating and Testing a FYI App".
|